
还记不记得去年我曾经介绍过 VMware 的 FCD 磁盘,并且通过 VBR 的 Instant Disk Recovery 试玩过 K8S 上的即时数据恢复?今年这个功能终于在最新的 K10 中联合 VBR 正式推出了,今天就跟我一起通过一个 Demo 来看看它是如何工作的吧。我的这个 Demo 会分成两部分,第一部分会先带大家来搭建一个可以使用 vSphere Cloud Native Storage 的 K3S 集群,然后第二部分我们再来看 K10 的备份和恢复。
vSphere CSI 的安装和配置
使用 Instant Recovery 功能离不开 vSphere,第一个前提要求是 Kubernetes 的 Storage Class 必须使用 vSphere Cloud Native Storage(CNS)。
关于 vSphere CSI 的详细配置,可以参考 VMware 官网链接
k3s 节点/集群安装配置
本次 Demo 实验环境是部署在我家 HomeLab 中一台 NUC11 猎豹峡谷上,这台 NUC 配置了 64G 内存和 1 块 NVME 的 SSD 硬盘,上面运行的是 vSphere 7u3。
在这个环境中,我的 Kubernetes 使用了轻量级的 K3S 1.25s1 版本,安装在一台 Ubuntu 20.04 上,配置成单节点启动实验环境。默认部署的 K3S 会禁用大多数 Cloud Provider,因此我需要调整一下 K3S 的安装参数,然后额外安装 VMware Cloud Manager。
# 安装命令
curl -sfL https://get.k3s.io | INSTALL_K3S_VERSION="v1.25.8+k3s1" INSTALL_K3S_EXEC="server --disable-cloud-controller --disable=servicelb --disable=traefik --disable-network-policy --disable=local-storage" sh -s -
安装完成后,先别急着启动,实际上我们还缺一些参数,需要配置到/etc/systemd/system/k3s.service文件中。用 VI 编辑器打开 k3s.service 文件,在 [Service] 这节中找到 ExecStart,额外加上 2 行启动参数--kubelet-arg=cloud-provider=external和--kubelet-arg=provider-id=vsphere://$master_node_id。加上后,k3s.service 文件的最后一部分如下:
ExecStart=/usr/local/bin/k3s \
    server \
        '--disable-cloud-controller' \
        '--disable=servicelb' \
        '--disable=traefik' \
        '--disable-network-policy' \
        '--disable=local-storage' \
        '--kubelet-arg=cloud-provider=external' \
        '--kubelet-arg=provider-id=vsphere://$master_node_id' \
修改完后,可以用重新 reload 下 k3s service,然后重启下即可。
sudo systemctl daemon-reload
sudo service k3s restart
接下去就可以通过 k3s 提供的 config 文件正常访问 cluster 了。
export KUBECONFIG=/etc/rancher/k3s/k3s.yaml
kubectl get pods --all-namespaces
vSphere CSI 安装
接下来我们需要把 vSphere datastore 挂载给 k3s 使用,这里需要准备一些配置文件,一共有 4 个,其中 1 个是 conf 文件,3 个是 yaml 文件。分别如下:
vsphere-cloud-controller-manager.yaml
csi-vsphere.conf
vsphere-csi-driver.yaml
storageclass.yaml
vsphere-cloud-controller-manager.yaml 文件
这个文件可以从 Kubernetes 官方的 github 仓库中获取模板,不同 k8s 版本的模板不一样,我用 1.25 的版本,就下载了 1.25 的对应文件:
curl -O https://ghproxy/https://raw.githubusercontent.com/kubernetes/cloud-provider-vsphere/master/releases/v1.25/vsphere-cloud-controller-manager.yaml
这个文件下载后不能直接使用,需要修改里面的 vCenter 地址和权限信息。
其中第一部分需要修改的是 Secret 中的 stringData,这里需要根据模板的样例填入 vCenter 的 ip、用户名和密码。然后第二部分需要修改的是 ConfigMap 中 data 下面的 vsphere.conf 中的内容,这里可以看到还是 vCenter 内的一些信息。
另外,如果无法访问 gcr.io 的话,还需要修改 DaemonSet 中的容器镜像地址,在我的腾讯个人镜像库里,已经放了 1.25.2 的镜像,地址如下:ccr.ccs.tencentyun.com/vsphere-csi/manager:v1.25.2
修改完后,这个文件可以放一边备用。
csi-vsphere.conf 文件
这个文件用于 vmware-system-csi 这个 namespace 下面创建 secret 用户,模板也可以从 VMware 官网 找到,以下是我修改后,在我的 demo 中用的内容:
[Global]

[VirtualCenter "<ipaddress or fqdn>"]
insecure-flag = "true"
user = "<account>"
password = "<password>"
port = "443"
datacenters = "<datacenter name>"
vsphere-csi-driver.yaml 文件
这个文件也可以从 VMware 的 Github 仓库中直接获取,下载后里面的内容不需要修改,可以直接使用。
curl -O https://ghproxy/https://raw.githubusercontent.com/kubernetes-sigs/vsphere-csi-driver/v3.0.0/manifests/vanilla/vsphere-csi-driver.yaml
但是如果和我一样无法访问 gcr.io 的话,还是要修改下这个文件中用到的镜像的地址,可以用我的腾讯个人镜像库里面的这些:
ccr.ccs.tencentyun.com/vsphere-csi/csi-attacher:v4.2.0
ccr.ccs.tencentyun.com/vsphere-csi/csi-resizer:v1.7.0
ccr.ccs.tencentyun.com/vsphere-csi/driver:v3.0.0
ccr.ccs.tencentyun.com/vsphere-csi/livenessprobe:v2.9.0
ccr.ccs.tencentyun.com/vsphere-csi/syncer:v3.0.0
ccr.ccs.tencentyun.com/vsphere-csi/csi-provisioner:v3.4.0
ccr.ccs.tencentyun.com/vsphere-csi/csi-snapshotter:v6.2.1
ccr.ccs.tencentyun.com/vsphere-csi/csi-node-driver-registrar:v2.7.0
storageclass.yaml 文件
最后,需要准备 storageclass 的 yaml 文件,这个模板也可以在 VMware 官网 找到,在我的 demo 中,我对文件进行了一些修改。
kind: StorageClass
apiVersion: storage.k8s.io/v1
metadata:
name: standard
annotations:
storageclass.kubernetes.io/is-default-class: "true"
provisioner: csi.vsphere.vmware.com
parameters:
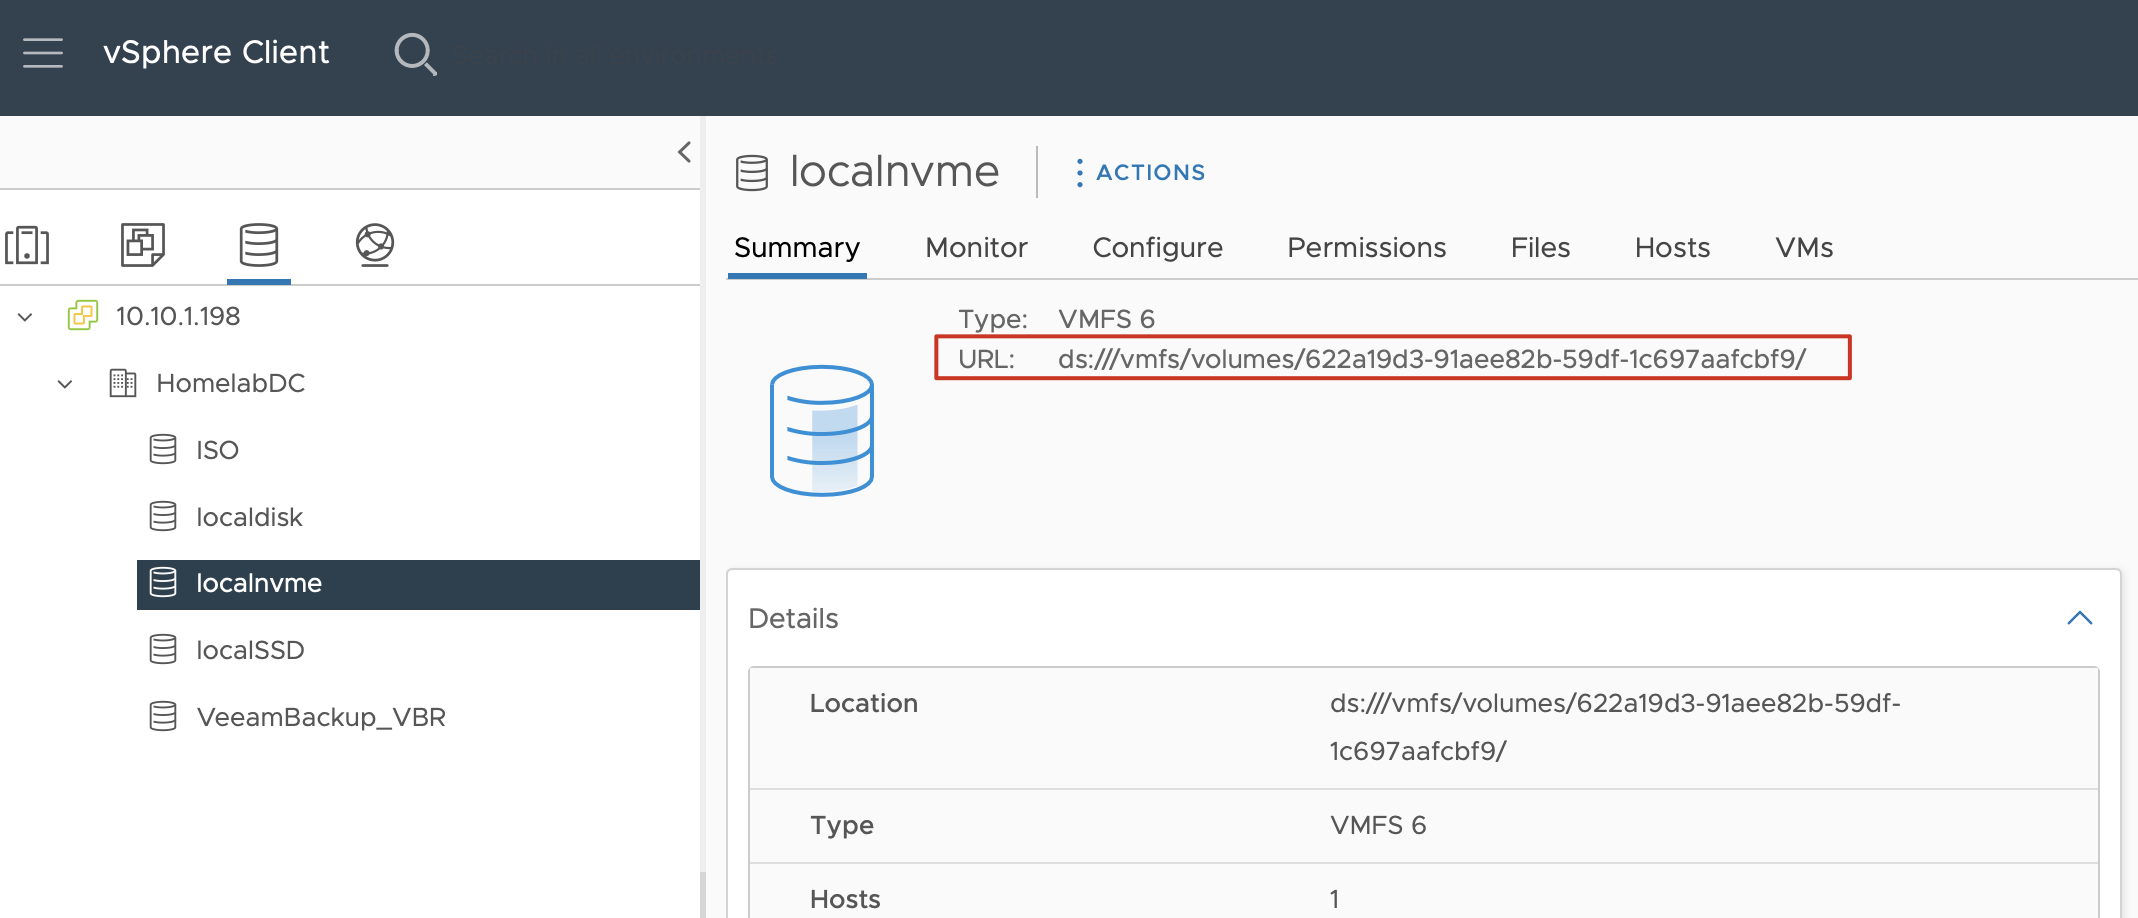
datastoreurl: ds:///vmfs/volumes/578a0d70-0be672b6-a3f7-34e6d7803208/
这个模板只有 2 个内容需要修改,其中 metadata 下的 name 字段,可以根据自己需要随意命名,另外一个是 datastoreurl,这个 url 需要去 vCenter 中,找到对应的 datastore,在摘要界面中寻找这个信息,如图。
CSI 安装
好了,准备完上述文件后,就可以开始安装了,整个安装过程相对来说比较简单,命令如下:
#安装 ccm
kubectl apply -f vsphere-cloud-controller-manager.yaml
#创建 csi 管理 namespace
kubectl create namespace vmware-system-csi
#禁止调度
kubectl taint nodes $nodeid node-role.kubernetes.io/control-plane=:NoSchedule
#确认上一条命令执行情况
kubectl describe nodes | egrep "Taints:|Name:"
#创建连 vc 用的用户名密码的 secret
kubectl create secret generic vsphere-config-secret --from-file=/home/lei/csi-vsphere.conf --namespace=vmware-system-csi
#创建并启动 csi 驱动
kubectl apply -f vsphere-csi-driver-ccr-ccs.yaml
#确定 pod 全部启动后,重新启用容器调度
kubectl taint nodes $nodeid node-role.kubernetes.io/control-plane=:NoSchedule-
#创建存储类
kubectl apply -f storageclass.yaml
安装完成后,如果没有任何报错,可以看到 CSI 的相关容器都正常启动了。接下去部署个应用使用这个 Storage Class 试试,demo 用的 yaml 如下。
apiVersion: v1
kind: PersistentVolumeClaim
metadata:
  name: demo-pvc
  labels:
    app: demo
    pvc: demo
spec:
  accessModes:
    - ReadWriteOnce
  resources:
    requests:
      storage: 1Gi
---
apiVersion: apps/v1
kind: Deployment
metadata:
  name: demo-app
  labels:
    app: demo
spec:
  replicas: 1
  selector:
    matchLabels:
      app: demo
  template:
    metadata:
      labels:
        app: demo
    spec:
      containers:
      - name: demo-container
        image: alpine:3.7
        resources:
            requests:
              memory: 256Mi
              cpu: 100m
        command: ["tail"]
        args: ["-f", "/dev/null"]
        volumeMounts:
        - name: data
          mountPath: /data
      volumes:
      - name: data
        persistentVolumeClaim:
          claimName: demo-pvc
部署一下看看。
# 创建 namespace
kubectl create ns demo
# 部署应用
kubectl apply -f demo.yaml
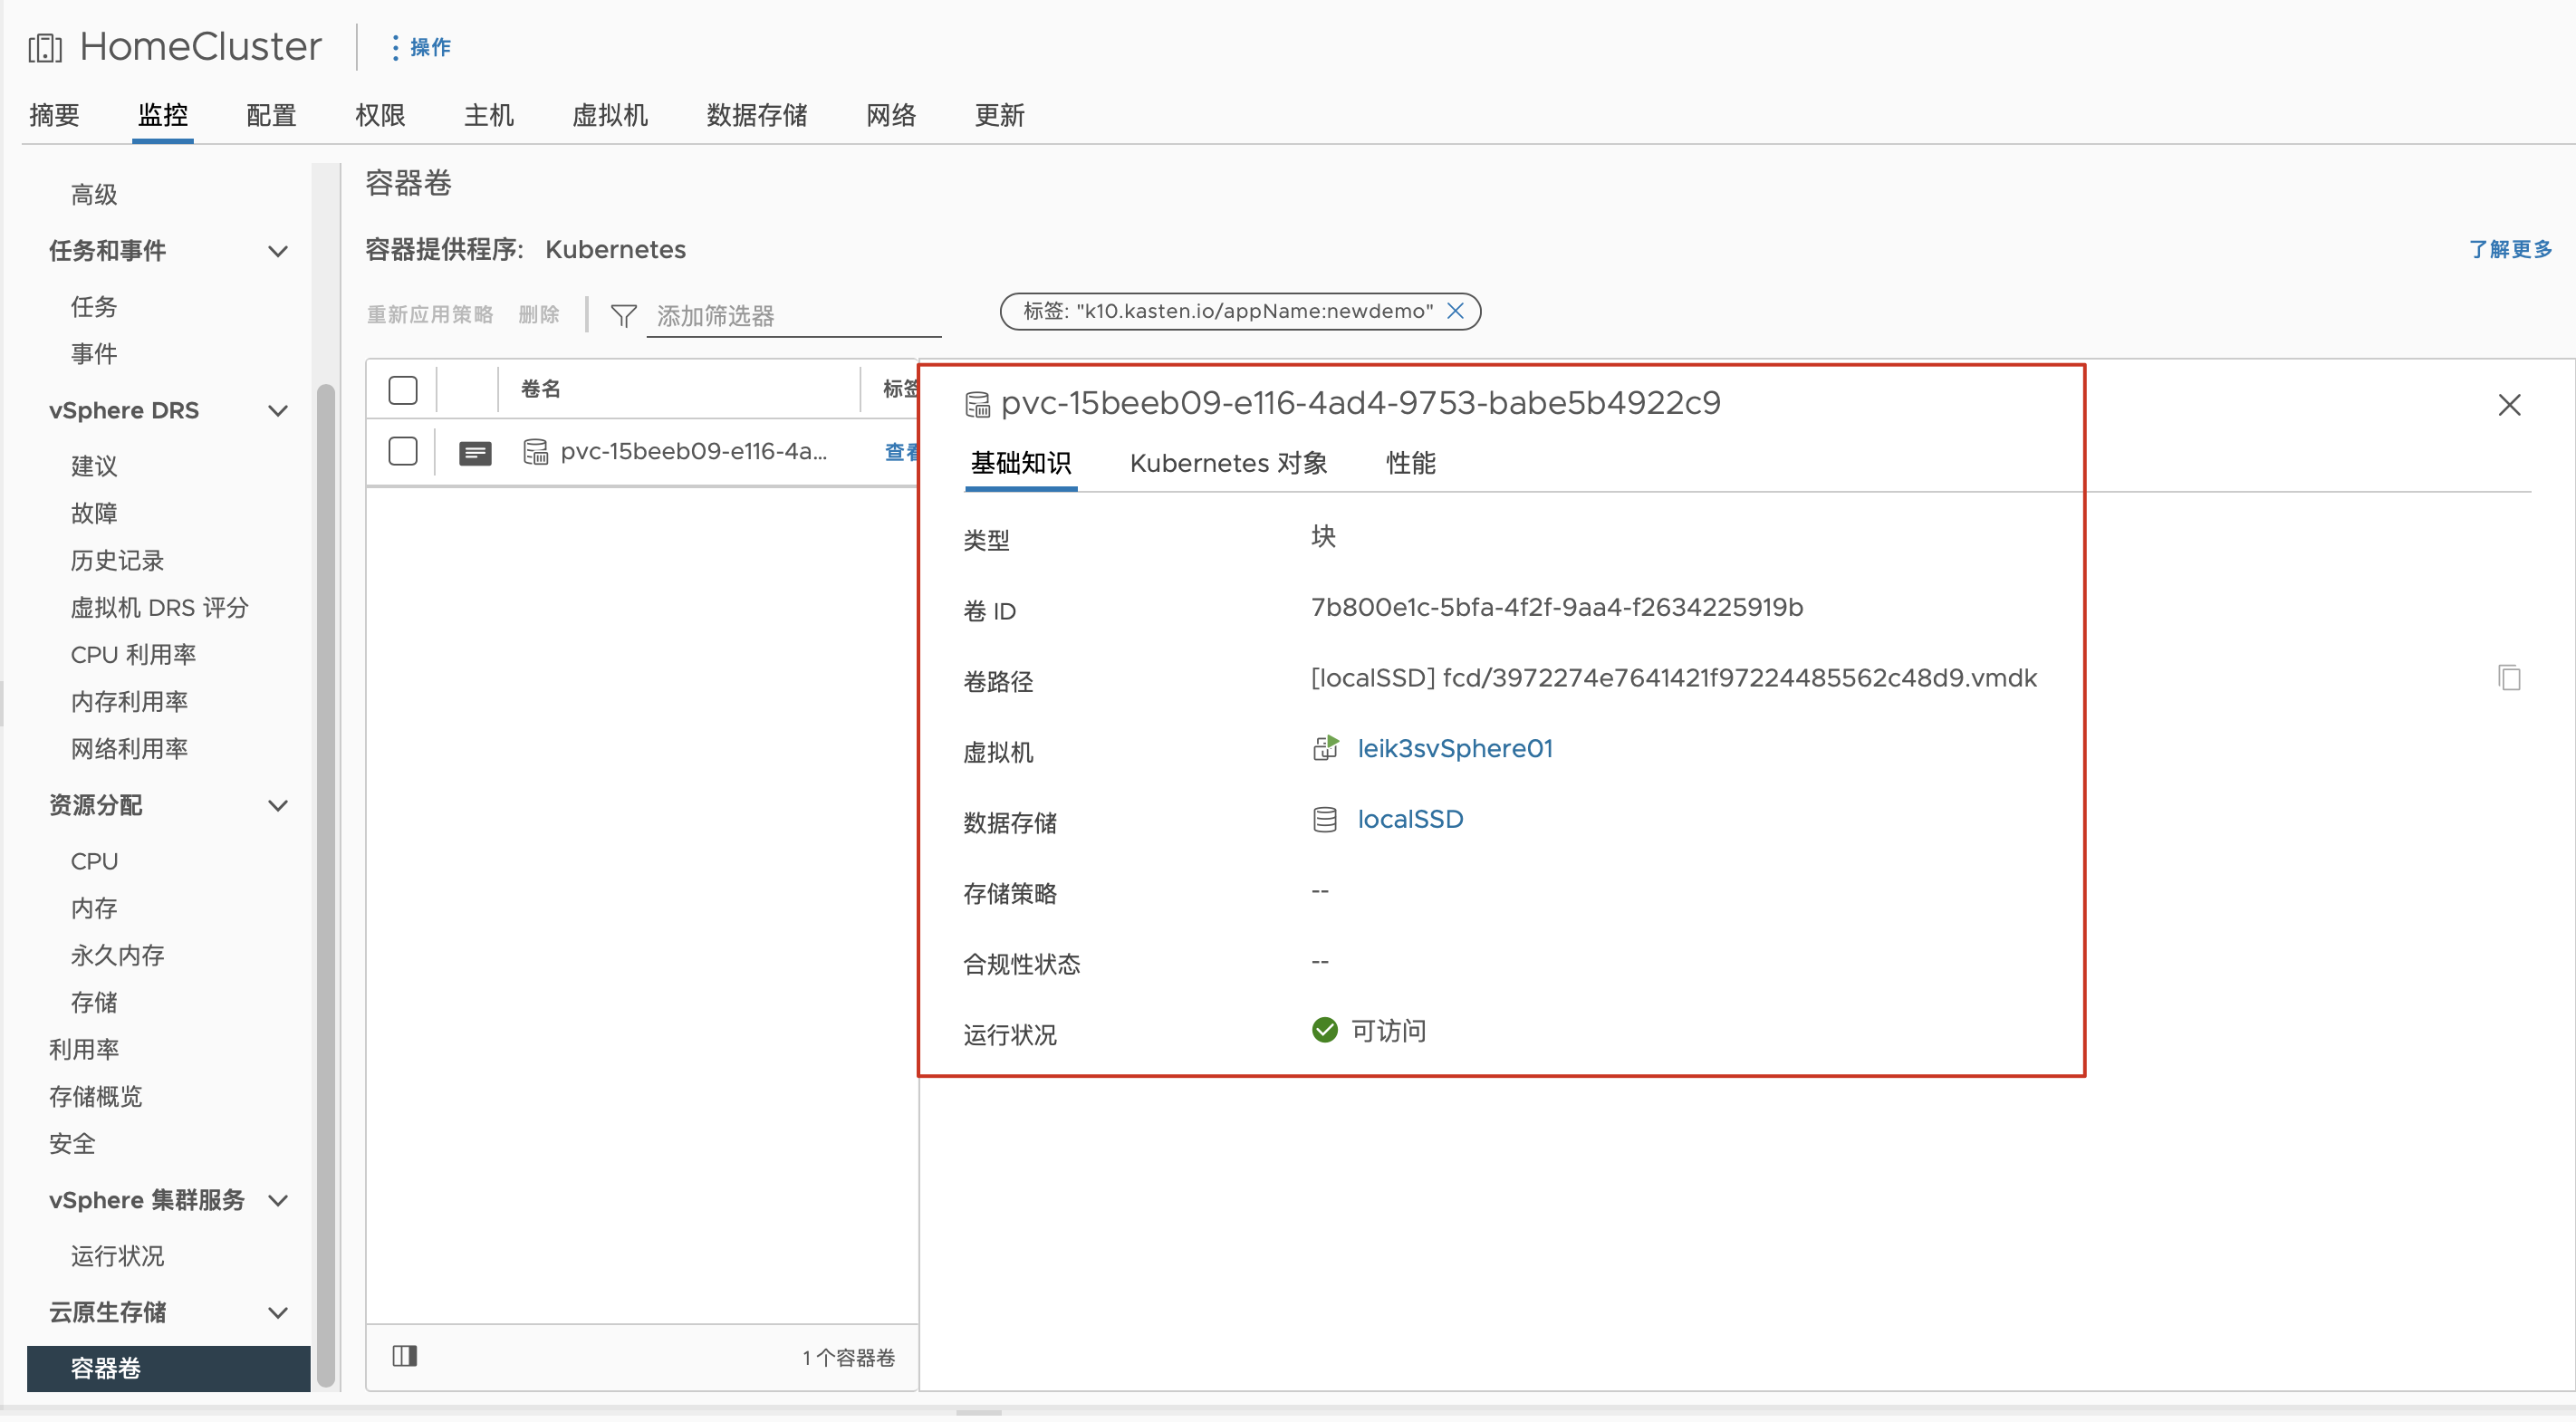
部署完后,在 vCenter 中能看到对应的 vmdk,这样的状态,VMware CSI 就正确配置完成了。
配置 Loadbalance
在我的 Demo 中,我还多配置了一个本地的 Loadbalance,用来为我的应用分配 IP 地址,在这里我选用了 MetalLB。安装也非常简单,在我的环境中,我使用了 0.13.9 的版本,从官网下载 yaml 文件,然后修改下镜像库即可。
curl -O https://ghproxy/https://raw.githubusercontent.com/metallb/metallb/v0.13.9/config/manifests/metallb-native.yaml
修改的镜像也有我的腾讯镜像库版本:
ccr.ccs.tencentyun.com/vsphere-csi/metallb-controller:v0.13.9
ccr.ccs.tencentyun.com/vsphere-csi/metallb-speaker:v0.13.9
除了这个 LB 标准应用的 yaml 之外,我们还要一个 ip 地址配置的 metallb-config.yaml,模板官网 也有,我这里稍作修改:
apiVersion: metallb.io/v1beta1
kind: IPAddressPool
metadata:
  name: first-pool
  namespace: metallb-system
spec:
  addresses:
  - 10.10.1.230-10.10.1.240

---
apiVersion: metallb.io/v1beta1
kind: L2Advertisement
metadata:
  name: l2-config
  namespace: metallb-system
spec:
  ipAddressPools:
  - first-pool
使用 kubectl apply 命令进行部署:
# 部署 metallb
kubectl apply -f metallb-native.yaml
# 配置 metallb
kubectl apply -f metallb-config.yaml
这样配置完成后,应用程序就可以直接使用了,对于 K10 来说,只需要简单的指定 externalGateway 参数为 true,metallb 就能够自动为 K10 分配访问地址了,非常方便。
好了,基础环境搭建就这些,我们下期详细介绍 K10 的备份与即时恢复。